How to Scan to PDF on Mac
On a Mac, right-click on the Desktop or in Finder and choose Import from iPhone > Scan Documents (Continuity Camera), or use File > Import from Scanner in Preview, or deskew photos with our browser Scan to PDF tool below.
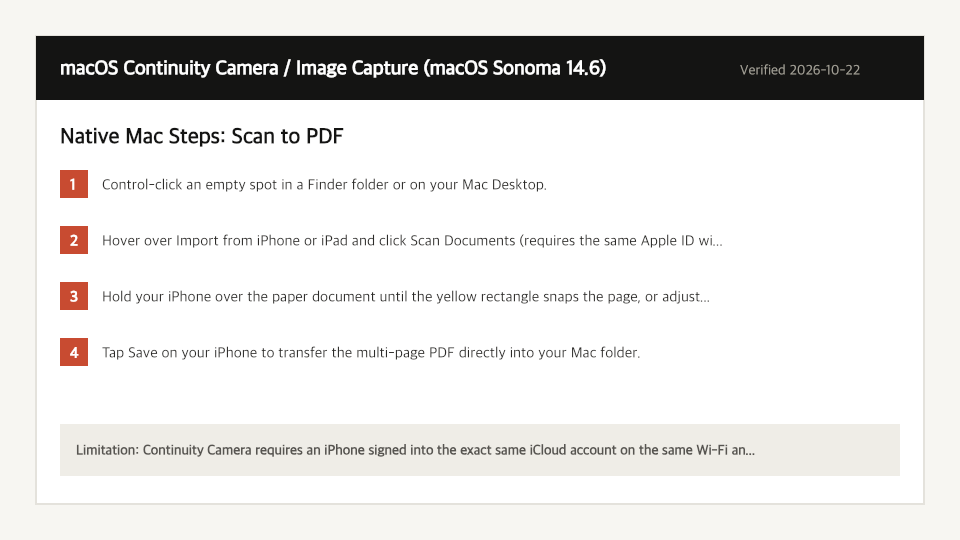
Built-In Mac Method: macOS Continuity Camera / Image Capture
Verified on macOS Sonoma 14.6 on 2026-10-22
- 1
Control-click an empty spot in a Finder folder or on your Mac Desktop.
- 2
Hover over Import from iPhone or iPad and click Scan Documents (requires the same Apple ID with Wi-Fi and Bluetooth enabled).
- 3
Hold your iPhone over the paper document until the yellow rectangle snaps the page, or adjust the corner points manually.
- 4
Tap Save on your iPhone to transfer the multi-page PDF directly into your Mac folder.
Where the Built-In Mac Method Falls Short
- Continuity Camera requires an iPhone signed into the exact same iCloud account on the same Wi-Fi and Bluetooth network; Android users or standalone Mac webcams cannot use it.
- If you already have skewed document photos on your Mac, Preview lacks a 4-corner perspective homography warp to flatten angled shots.
Scan to PDF Directly in Your Mac Browser
Open Full Scan to PDF Page1. Capture or Upload Document Frame
Use your device camera or select a photo, adjust the 4 corner handles (44x44px), and apply perspective correction.
Frequently Asked Questions (Mac)
- What if I do not have an iPhone to pair with my Mac?
- Use the Scan to PDF workbench on this page to capture from your Mac webcam or drop existing photos, drag the 4 corner handles to straighten the page, and apply the Adaptive B&W filter.